Menu
Sewing with Bra Cups: A Step-by-Step Guide

Sewing with bra cups can be a game changer when it comes to creating comfortable and supportive garments. Whether you're making a bra, swimwear, or even dresses with built-in bust support, understanding the basics of sewing with bra cups is essential. In this step-by-step guide, we'll walk you through everything you need to know to master this technique.

Understanding the Basics of Sewing with Bra Cups
Why Sew with Bra Cups?
Before we dive into the details, you might be wondering why sewing with bra cups is even necessary. Well, bra cups can provide added support, shape, and comfort to your garments. By using bra cups, you can enhance your curves, eliminate the need for uncomfortable underwires, and create a more customized and flattering fit.
Sewing with bra cups not only improves the overall fit of your garments but also allows you to experiment with different styles and designs. Whether you're creating a stunning evening gown or a comfortable everyday bra, incorporating bra cups can elevate your sewing projects to a whole new level.
Additionally, sewing with bra cups gives you the freedom to choose the level of support and shape that suits your needs. With a wide variety of bra cups available in the market, you can select the perfect ones for your desired level of comfort and style.
Materials Needed for Sewing with Bra Cups
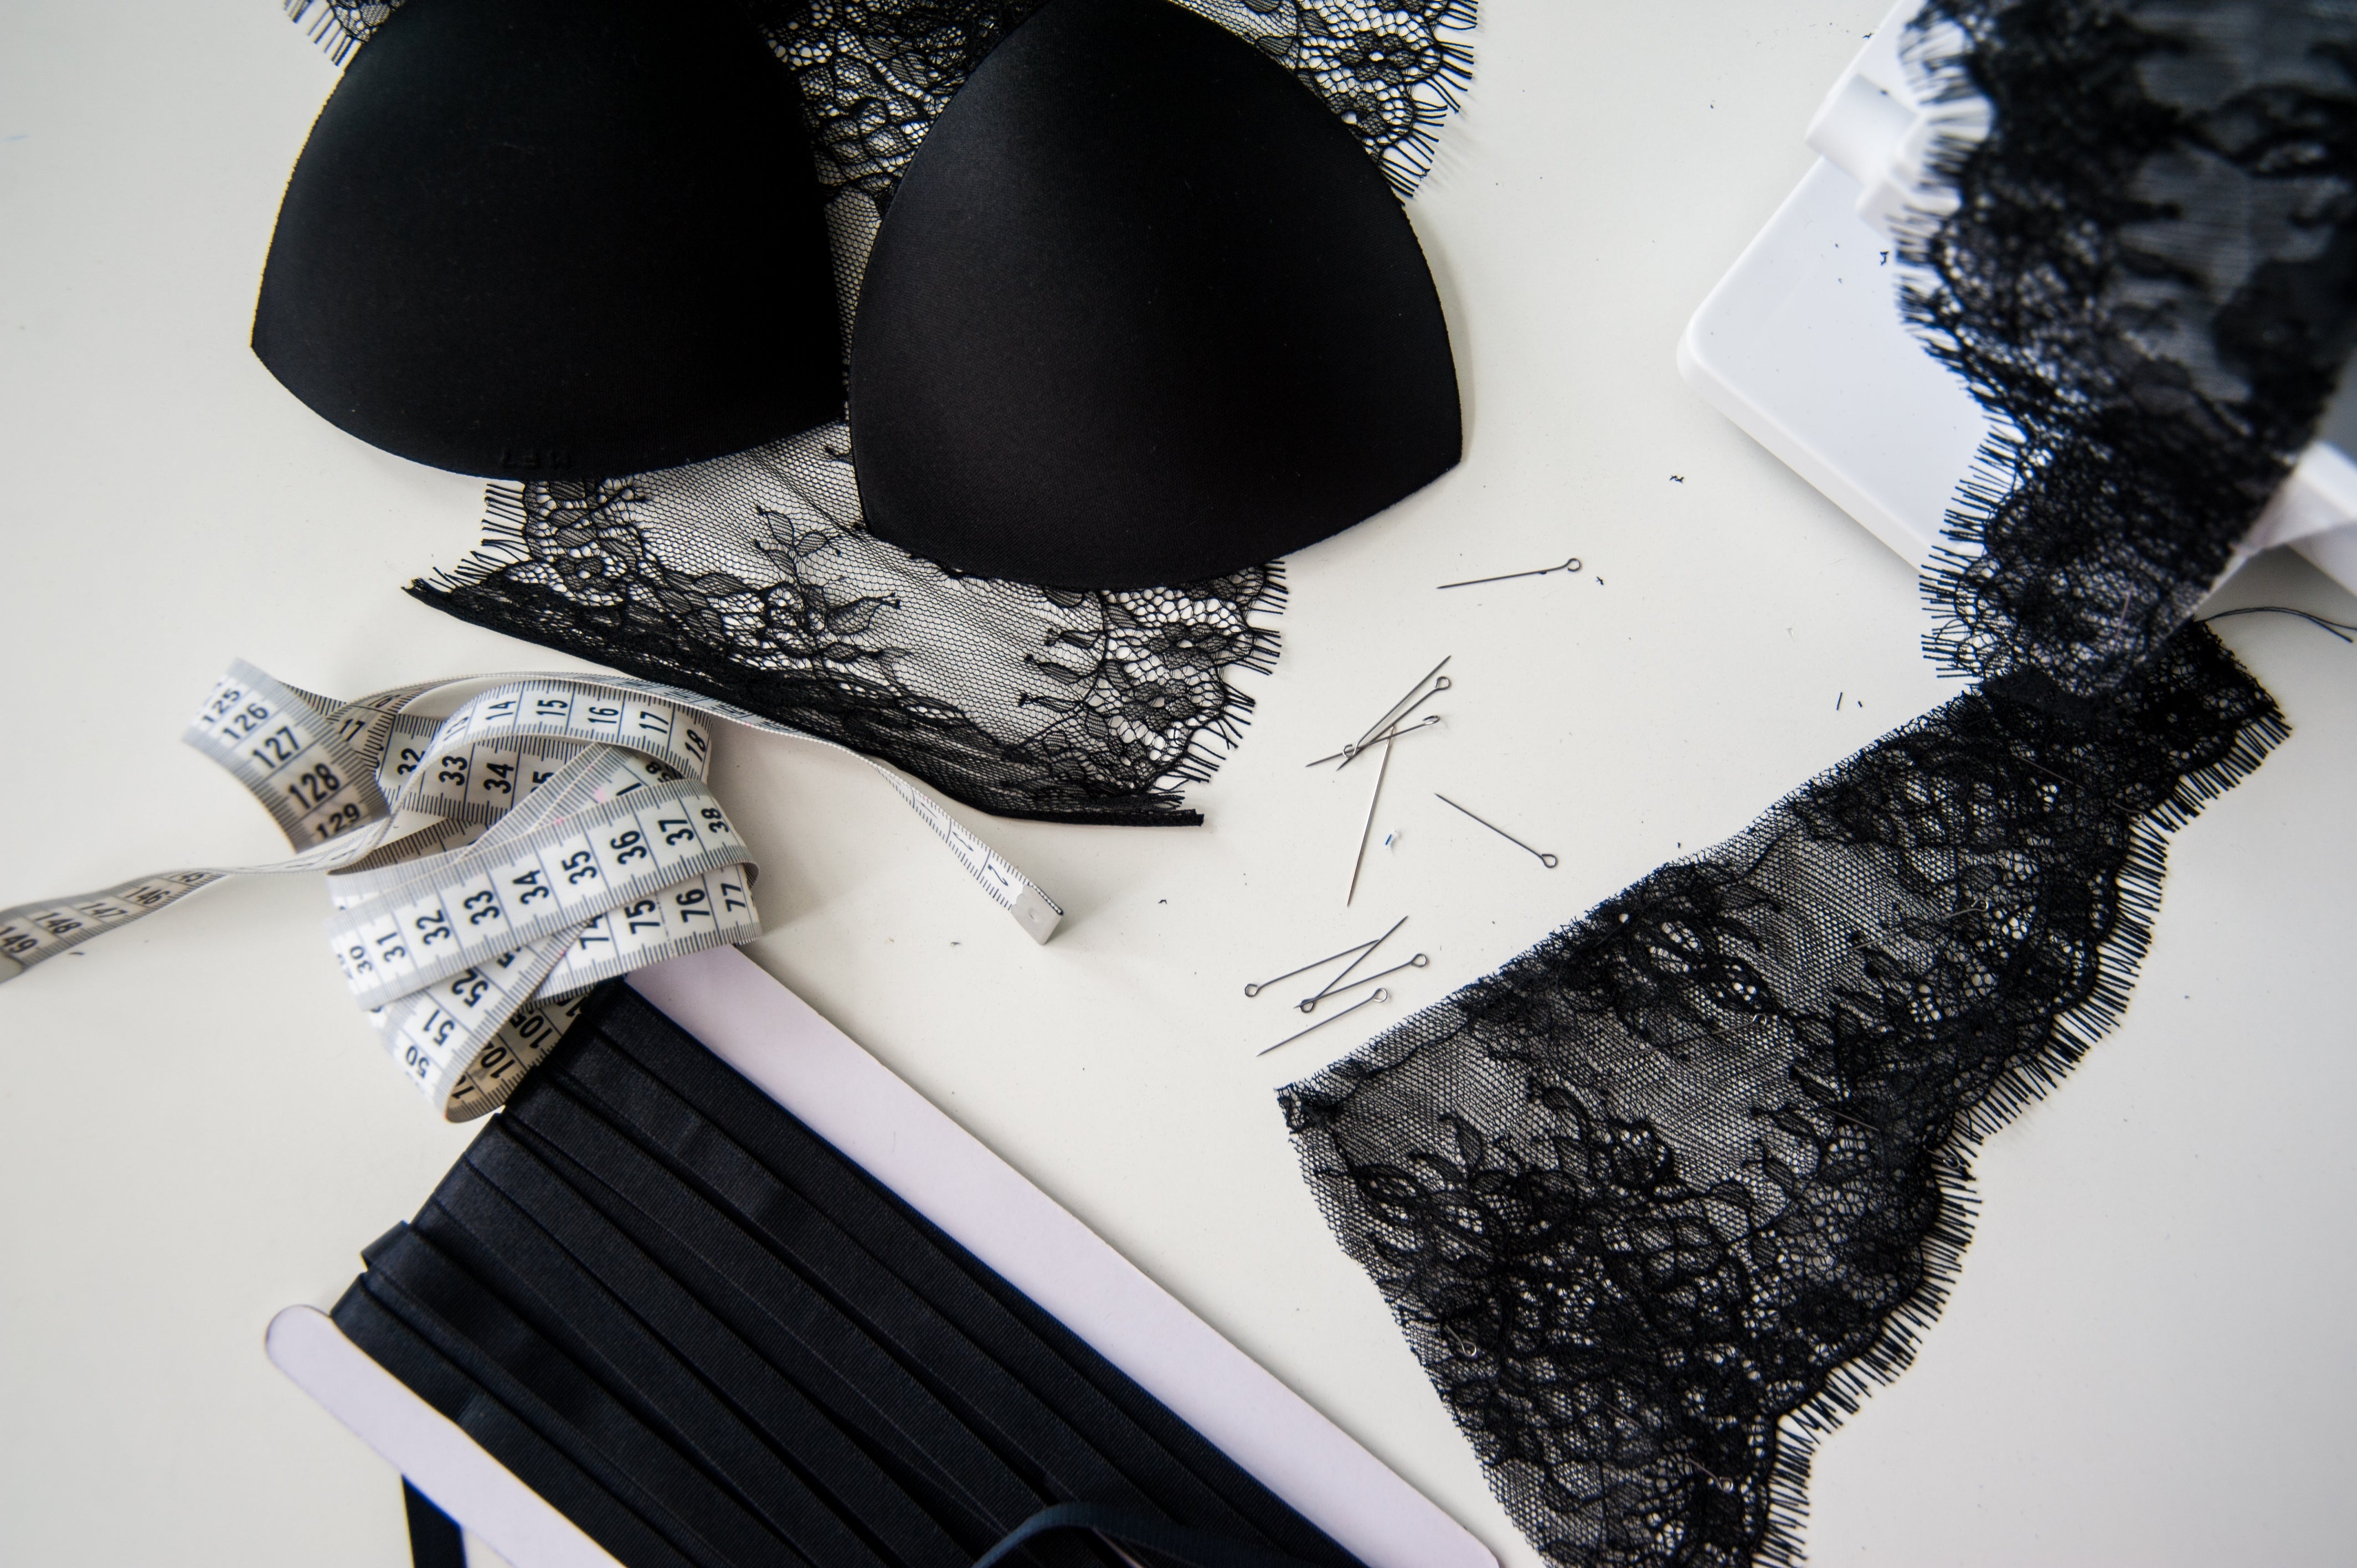
Before you get started, gather the following materials:
Bra cups: Choose high-quality bra cups that suit your desired level of support and shape. Consider factors such as cup size, padding thickness, and material. Stitch Love Studio offers a wide variety of popular cups styles for your project. Find your cup inserts here.
Fabric: Select a fabric that is suitable for your project, such as stretchy knit fabric for lingerie or swimwear. The fabric should be comfortable against the skin and have the necessary stretch to accommodate the bra cups. Find just the right fabric here.
Thread: Use a matching thread color for a seamless finish. Ensure that the thread is strong and durable to withstand the stress of regular wear. We have just the perfect thread for bras and lingerie sewing here.

Pins and clips: These will come in handy for securing the bra cups in place during the sewing process. Use pins to hold the cups temporarily and clips for a more secure grip.
Sewing machine: Make sure your machine is in good working condition and equipped with an appropriate needle for the fabric you're using. A machine with adjustable stitch length and width settings will give you more control over the sewing process.
Scissors: Sharp scissors are essential for clean cuts. Invest in a pair of fabric scissors specifically designed for cutting through different types of materials without fraying or damaging the fabric.
Measuring tape: This will help you determine the correct placement and size of the bra cups. Take accurate measurements to ensure a precise fit and avoid any discomfort.
Optional: Elastic, hook, and eye closures for additional support. Depending on the design of your garment, you may choose to incorporate these elements to enhance the fit and functionality of the bra cups. You can find just the right hook and eye here.
Now that you have all the necessary materials, you're ready to embark on your sewing journey with bra cups. Let's explore the step-by-step process of sewing with bra cups to create beautifully fitted garments!
Preparing Your Bra Cups for Sewing
Choosing the Right Bra Cups
When it comes to sewing your own bras, one of the most important steps is choosing the right bra cups. This decision will greatly impact the fit and comfort of the final garment. There are several factors to consider when selecting bra cups, including size, shape, and desired support.
First and foremost, it's crucial to accurately measure yourself to ensure the cups will fit properly. This will help you avoid any discomfort or ill-fitting issues later on. Remember, bra cups come in different sizes, so taking precise measurements is essential.
In addition to size, you should also think about the shape of the cups and how they will enhance your bust. Some bra cups provide a natural shape, while others offer more push-up or plunge effects. Consider your personal style and the look you want to achieve when making this decision.
Furthermore, it's important to think about the level of support you need. If you are planning to engage in high-impact activities while wearing your bra, opting for sturdier cups will provide the necessary support. On the other hand, if you are looking for everyday comfort, softer cups may be more suitable.

Preparing Your Sewing Machine
Now that you have chosen the perfect bra cups for your project, it's time to prepare your sewing machine. Properly setting up your machine will ensure smooth and precise stitching.
Begin by threading the machine with a matching thread color. This will ensure that your stitches blend seamlessly with the fabric and create a professional-looking finish. Take your time and follow the machine's manual for the correct threading process.
Next, it's important to adjust the tension of the machine. Improper tension can result in loose or tight stitches, which can affect the overall quality of your sewing. Consult your machine's manual for guidance on how to adjust the tension properly.
Before starting on your actual project, it's always a good idea to test the machine on a scrap piece of fabric. This will allow you to check if everything is running smoothly and make any necessary adjustments before working on your bra cups.
Lastly, double-check that you have the appropriate needle for your fabric. Different fabrics require different types of needles for optimal results. For knits, a ballpoint needle is generally recommended as it glides smoothly through the fabric without causing any damage. On the other hand, for woven fabrics, a universal needle works well in most cases.
By taking the time to properly prepare your sewing machine, you'll set yourself up for success when it comes to sewing your bra cups. Remember, attention to detail and thorough preparation are key to achieving professional-looking results.
Step-by-Step Guide to Sewing with Bra Cups
Are you ready to take your sewing skills to the next level? Adding bra cups to your garments can provide extra support and shape, giving you the confidence to rock any outfit. In this step-by-step guide, we will walk you through the process of sewing with bra cups, ensuring a perfect fit and a professional finish.
Step 1: Positioning the Bra Cups
Before you start sewing, it's crucial to determine the correct placement of the bra cups on your garment. To do this, measure your bust apex, which is the highest point of your bust. Mark this point on the fabric using a fabric marker or tailor's chalk.
Now, it's time to position the bra cups symmetrically on the fabric, aligning them with the marked points. If you are using a sewing pattern, follow the pattern markings for bra cup placement. Pay attention to the cup size and shape, ensuring they match your desired look. Once you are satisfied with the position, secure the cups in place with pins or fabric clips.
Remember, precision is key at this stage, as it will affect the overall fit and appearance of the garment.
Step 2: Pinning the Bra Cups
With the bra cups in position, it's time to pin them securely to the fabric. Start by ensuring that the cups are flat against the fabric and centered on the marked points. Adjust the position if necessary, ensuring a precise fit.
Pinning is an essential step as it will hold the cups in place during the sewing process. Take your time and use enough pins to ensure the cups stay put. If you prefer, you can also use fabric clips instead of pins, especially if you are working with delicate or slippery fabrics.

Step 3: Sewing the Bra Cups
Now comes the exciting part - sewing the bra cups onto your garment. Start by securing the cups with a basting stitch, using a long stitch length. This temporary stitch will hold the cups in place while you sew them permanently.
Switch to a regular stitch length and sew around the cups, following the cup's edges. Use a matching thread color to create an invisible seam. Take your time and sew slowly and evenly, keeping the stitches close to the edge of the cups. This will ensure a secure attachment and a smooth finish.
If you are unsure about the stitch length or tension, it's always a good idea to test them on a scrap piece of fabric before sewing on the actual garment. This way, you can make any necessary adjustments without risking the final result.
Once the cups are securely attached, trim any excess fabric or threads for a neat and professional finish. You can also use pinking shears or a zigzag stitch along the raw edges to prevent fraying.
And there you have it! By following these simple steps, you can confidently sew with bra cups, elevating your garments to a whole new level. Experiment with different cup sizes and shapes to achieve the desired look and fit. Whether you're creating a stunning evening gown or a comfortable everyday bra, sewing with bra cups will enhance your sewing projects and boost your self-confidence.
Troubleshooting Common Issues
Dealing with Uneven Stitching
If you notice uneven stitching while sewing the bra cups, there are a few possible causes. First, check the tension of your sewing machine. Loose tension can cause loose or uneven stitches, while tight tension can lead to puckering. Adjust the tension accordingly and test on a scrap piece of fabric. Additionally, double-check that the fabric is smooth and flat while sewing. Any wrinkles or folds can affect the stitching quality.
What to Do When Bra Cups Move While Sewing
If you find that the bra cups shift or move while sewing, try using fabric clips instead of pins to secure them in place. Clips provide a firmer hold and prevent the cups from shifting during the sewing process. Also, consider basting the cups by hand before using the sewing machine. Basting stitches hold the cups securely and minimize movement.
Advanced Techniques for Sewing with Bra Cups
Sewing Bra Cups into Different Types of Fabric
While the basic steps for sewing bra cups remain the same, different fabrics may require special techniques. For example, when sewing bra cups into stretchy knit fabric, you may need to use a zigzag stitch or a narrow three-step zigzag for added stretchability. On the other hand, woven fabrics usually require careful handling and precise stitching to achieve the desired fit and shape.

Creating Custom Designs with Bra Cups
If you're feeling adventurous, explore the possibilities of creating custom designs with bra cups. Experiment with different cup shapes, fabrics, and embellishments to add your personal touch to lingerie, swimwear, or even evening gowns. Whether you want to achieve a daring cut-out effect or a unique neckline, bra cups can be incorporated creatively to enhance your designs.
As you can see, sewing with bra cups is a versatile technique that can elevate your sewing projects to the next level. With a little practice and creativity, you'll be able to create comfortable and beautifully fitted garments that you'll love to wear. So go ahead and give it a try!
🥰 Keep in touch! Send messages, Share photos on Instagram @stitchlovestudio, comment, share your experiences.
✍ Sign up to receive news for events, freebies, coupons and sew much more!
- Choosing a selection results in a full page refresh.

